A DIY gel manicure is the perfect way to get long-lasting, salon-quality nails at home, but a few small mistakes can lead to chipping, lifting, or uneven application.
Don’t worry—we’ve got you covered! Here are the top 5 gel manicure mistakes and how to fix them for a flawless finish.

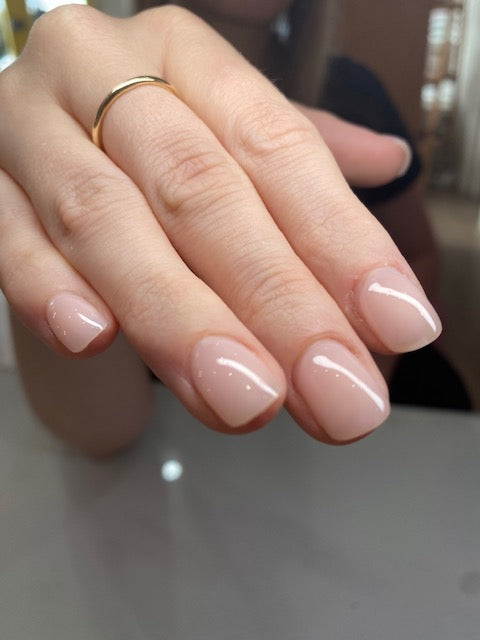
1. Skipping Proper Nail Prep
The Mistake: If you don’t properly prep your nails before applying gel polish, oils, moisture, or residue can cause chipping and lifting within days.
The Fix:
Start with clean, dry nails—use an alcohol wipe to remove oils.
Buff the nail surface lightly to create a smooth base for gel polish.
Push back your cuticles (don’t cut them!) to prevent polish from lifting.
Avoid hand creams or oils before applying gel polish!
👉 Pro Tip: A well-prepped nail means longer-lasting wear—up to 14 days chip-free!
2. Applying Polish Too Thick
The Mistake: Thick layers of gel polish take longer to cure, can wrinkle under the lamp, or lead to peeling within days.
The Fix: Apply thin, even layers of polish—less is more!
Cure each layer properly: 30 seconds under an LED lamp / 60 seconds for dark colours.
If needed, apply 3 thin coats instead of 2 thick ones for rich colour.
Pro Tip: Thin layers cure faster, last longer, and prevent bubbling or uneven texture!
3. Getting Gel on Your Skin or Cuticles
The Mistake: If gel polish touches your skin or cuticles, it can lift and peel off prematurely.
The Fix: Apply polish in slow, controlled strokes—stay just inside the nail edge.
If polish gets on your skin, wipe it off before curing using an orangewood stick.
Seal the free edge of your nail (swipe polish across the tip) to prevent chipping.
Pro Tip: A clean application = a longer-lasting, professional-looking mani!
4. Not Curing Properly
The Mistake: If your gel polish isn’t fully cured, it can remain tacky or chip easily.
The Fix: Use a high-quality LED lamp for proper curing.
Cure for at least 30 seconds per layer under an LED lamp (60 seconds for darker colour gels).
Avoid moving your hands during curing—keep them steady!
Pro Tip: If your polish still feels sticky, cleanse with an alcohol wipe after curing!
5. Removing Gel Polish Incorrectly
The Mistake: Peeling off gel polish without soaking can damage your natural nails by stripping layers.
The Fix: Use Gelicious Soak & Peel Base Coat for damage-free removal.
Soak nails in warm water for 10 minutes before peeling.
Gently lift the edge of the polish —don’t force it!
Hydrate nails with cuticle oil after removal.
Pro Tip: Soak & Peel = no acetone, no scraping, no damage!
Get the Perfect Gel Manicure with Gelicious!
Now that you know how to avoid these mistakes, it’s time to perfect your at-home gel manicure! Shop Gelicious Peel-Off Base Coat, Gel Polishes & Top Coat for salon-quality results.